mNo edit summary |
No edit summary |
||
| Line 1: | Line 1: | ||
{{construction | |||
| contact = https://www.waze.com/forum/memberlist.php?mode=viewprofile&u=301528 | |||
| contacttype = user | |||
| draft = yes | |||
| open = no | |||
| revision = yes | |||
| section = yes | |||
| talk = no | |||
}} | |||
== Setting the stop point for a Place == | == Setting the stop point for a Place == | ||
Revision as of 13:51, 23 May 2017
| This revision of a section is currently undergoing modifications. The information presented should be considered a draft, not yet ready for use. Content is being prepared by one or more users. Do not make any changes before you send a private message to this user. |
Setting the stop point for a Place
Point placement

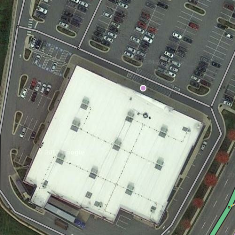
The Point Place should go on or very near to the segment to which the driver should be navigated. The Waze routing server will navigate the Wazer onto the segment which is physically closest to where the point is placed. Typically, if the Place is inside a building, the marker should be located at or near the location's front door. Think: where would a car stop to drop someone off for this location.
Moving a point Place
To move a point Place, first click on the Place icon, which will turn into ![]() .
.
Then, you can click on the teal portion of the selected point Place, and drag the Place to its correct location.
Adjust point Place stop point
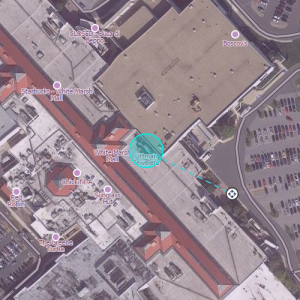
In some instances, it may be necessary to place the stop point for a point Place apart from actual location. To adjust the stop point for a point place, drag the crosshair to the desired location. A dashed line will illustrate the link to the point Place.
Point placement examples

- A building with one Point Place:
- If there is only one door, place it at that door.
- If the front door is not located near a Parking Lot Road or the appropriate routable segment, set the stop point to the drop off location.
- If there are multiple doors on the same side, (like a supermarket,) place it at the point equidistant from and collinear with the two front doors.
- If there are multiple doors on different sides, (like some mall anchor stores,) if there's no "obvious" front door, place it either at the door facing the largest parking lot or at the door facing the street on which the street address for that location is.
- A single building with multiple Point Places within:
- At a strip mall, put each store's point at the store's "front door".
- At a larger mall, put the Point Places as close as possible to the actual location of the store; then, set the stop point at the nearest mall entrance.
- For multi-story office buildings, use the front door rule since people will need to enter that way to get to all the offices.
Area placement
The ![]() icon is the adjustable stop point for Area Places.
icon is the adjustable stop point for Area Places.
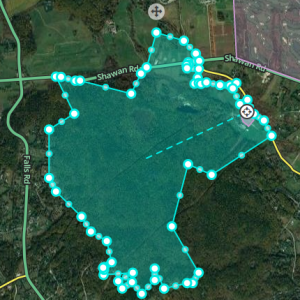
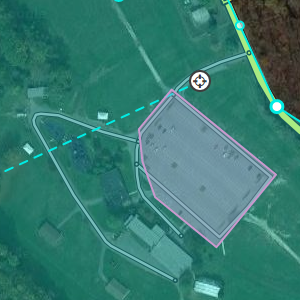
Here is an example of an Area (a large park in this case) which has its main entry road on the east side. The second image is zoomed in on the target to show how this type of Area should have its navigation stop point set.


Area stop point distance limit
When you drag an area Place stop point outside the polygon, the editor will show a dashed black boundary.

Moving an Area Place
To move an area place without changing its shape, click on the place to select it. Then, click and drag the move handle icon ![]() .
.