Error: Image is invalid or non-existent.
Try your editing here
copy your text and format here, we'll clear it from time to time to keep it available to all.
You can try implementing waze templates from here, and use the official wikipedia editing help center.
User Manual-Symbian Keypad
Main screen
When you'll enter the program the following screen appears:
Icons
The Waze screen has the following main sections:
*A top status bar
GPS Connectivity - (green means connected , orange means partial coverage, gray is disconnected).
Connection Status- (gray means disconnected, when connected no icon appears).
![]()
Mood icons- (happy, sad, etc...)
![]()
The smiley shows the mood you're in at the moment. If you've chosen to be visible to other wazers (green privacy icon), your mood is also displayed to them; and if you've chosen to tweet your reports to your Twitter followers, they'll see your current mood as part of the tweet.
Groups
This icon refers to the number of reports received by the groups you’re registered to.
Reports on the road
This icon refers to the number of traffic reports and events received by the community
*The main screen where the map is displayed
On the center of the screen on the map the following icons appear:
2D
3D
Clicking on 5 will switch to 3D view. (if you'll press it again it will switch back to 2D)
This state will be added to the map in another dimension - a dimension depth which will allow wider angle of vision.
Zoom
If you want to zoom-in on the map then press the * button.
If you want to zoom-out on the map then press the # button.
*Text buttons on the bottom of the main screen:
- Me on Map (displays where you are right now).
- Menu
- Report (you will get this option when pressing me on map)
- Note - report options will appear only if there is GPS reception and network data connection.
Report
Clicking on report will open the next menu:
Note - all options will appear only if there is GPS reception and network data connection.
You can choose one of the following events:
Police![]()
Traffic jam![]()
Accident![]()
Hazard![]()
Speed cam![]()
Chit chat![]()
Map update![]()
Downloading the application on the device
1.Using the internal browser, type in the address: m.waze.com
2.Press Ok
3. Wait until the download is finished.
Install the application on the device
1.Press Yes
2. Press Continue.
3. Select on which memory (device/card) that you want to install the software and click Select.
Attention- It is recommended that you install WAZE on the phone's internal memory for smoother operation of the software.
4. Wait until the installation is complete.
5. Select the server you want.
6. Read and confirm the license agreement.
7. Create a new account:
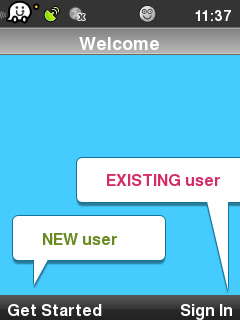
- 7.1 After confirming the license agreement wait until the get started screen will pop
- up and then press on get started.
- 7.2 Fill in the information.
- 7.2 Fill in the information.
- 7.3 Press Ok.
- 7.3 Press Ok.
Installing the application using Nokia PC Suite
Interactive guide to Nokia PC Suite
1. Download the installation file to your computer from the following link: LINK save on the desktop (you can delete the file later).
2. Press Ok.
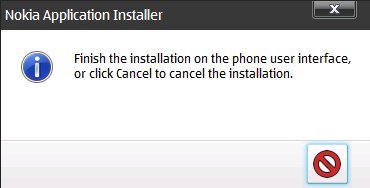
3. After this comment, the installation will continue on your phone.
Android
Download waze
In order to download waze, make sure you have an Internet connection (3G or Wi-Fi) on your mobile.
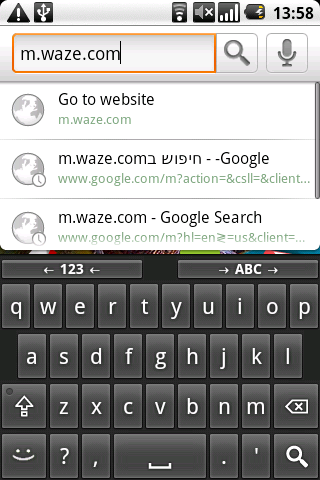
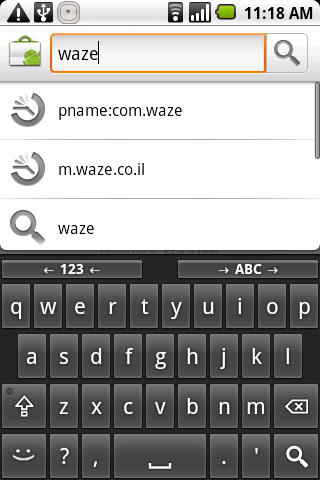
- 1.1 Go to m.waze.com or search for waze in the Android Market: (If you download from m.waze.com, you can skip to step 1.3)
- 1.2 Search waze
- 1.2 Search waze
- 1.3 Select waze from the search results
- 1.3 Select waze from the search results
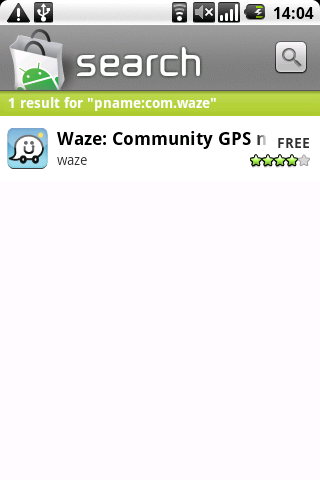
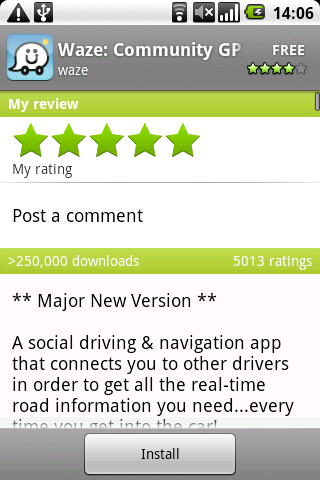
- 1.4 Tap Install to start the download
- 1.4 Tap Install to start the download
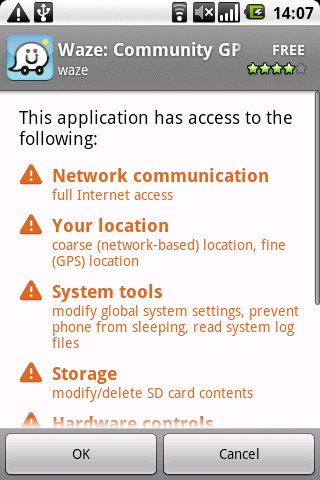
- 1.5 Tap OK to confirm the Notifications:
- 1.5 Tap OK to confirm the Notifications:
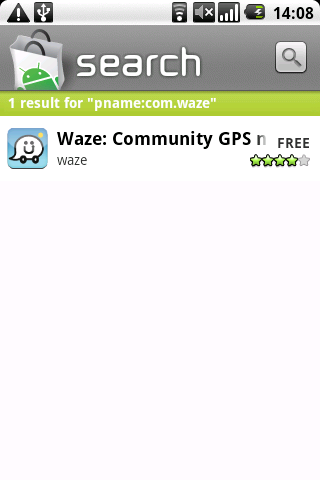
- 1.6 After couple of seconds you' ll see the next screen, tap waze: Community GPS to see downloading progress.
- 1.7 Downloading progress:
- 1.7 Downloading progress:
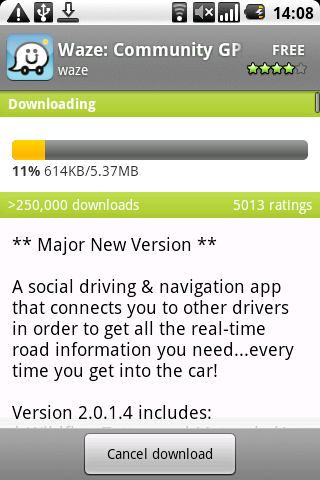
- Note: If you want to cancel the downloading, just tap Cancel download
Installing
Getting started
- 3.1 waze splash screen:
- 3.1 waze splash screen:
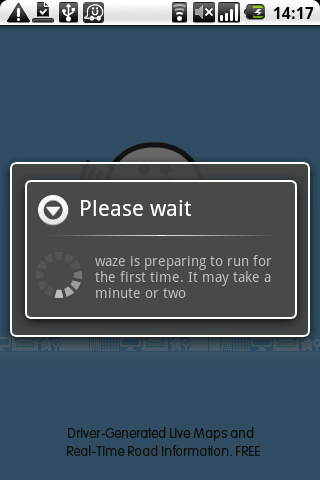
- 3.2 Initializations and first time running:
- 3.2 Initializations and first time running:
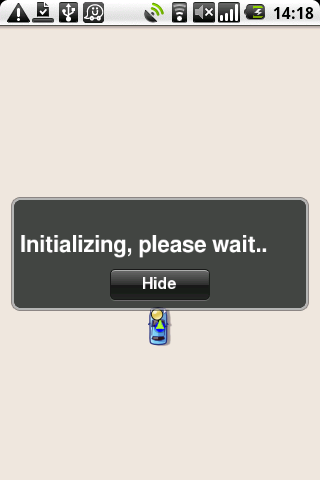
- 3.3 Initializing:
- 3.3 Initializing:
- 3.4 If GPS or AGPS are off on your mobile settings you'll get the next message:
- 3.4 If GPS or AGPS are off on your mobile settings you'll get the next message:
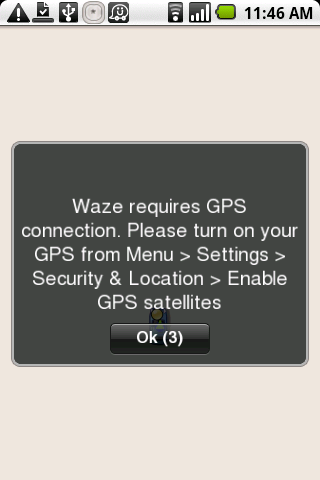
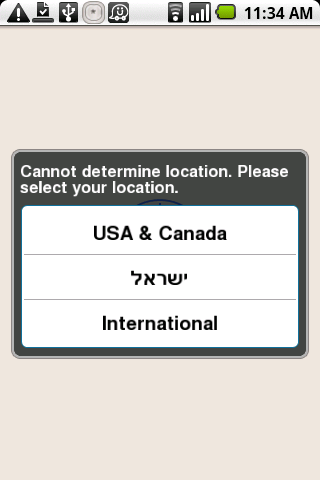
- 3.5 After the initialization you'll be required to select your location (If the GPS and AGPS are turned off):
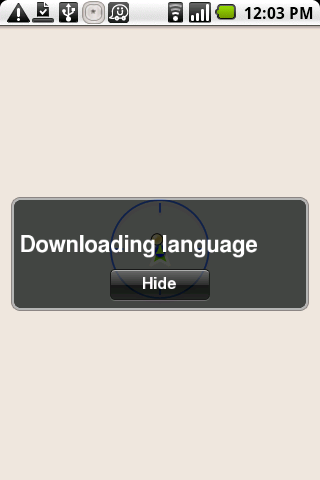
- 3.6 Language files will be downloaded according to the selection :
- 3.7 After that Terms of use will be presented:
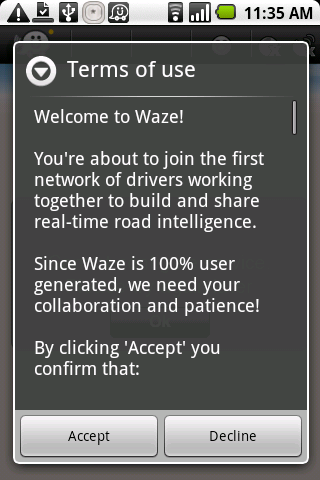
- In order to proceed you need to confirm that you understand and accept those terms of use.
- Click the Accept button to continue to use waze, or the Decline button to exit the program.
- If you have accepted the terms of use, you will next get a form to create your account.
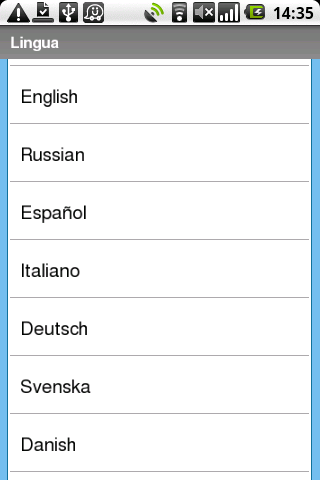
- 3.8 Select your language:
- 3.9 After choosing the language the Welcome screen will be displayed:
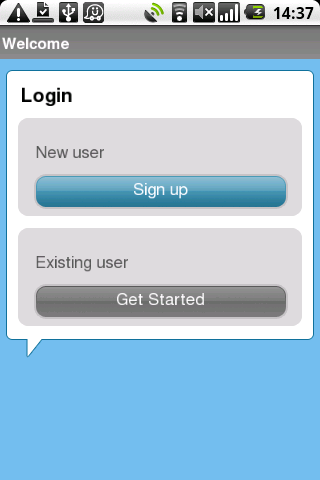
- 3.9.1 If you're a new user at waze, tap New user.
- 3.9.1.1 Fill out the details below in order to create your account:
- 3.9.1 If you're a new user at waze, tap New user.
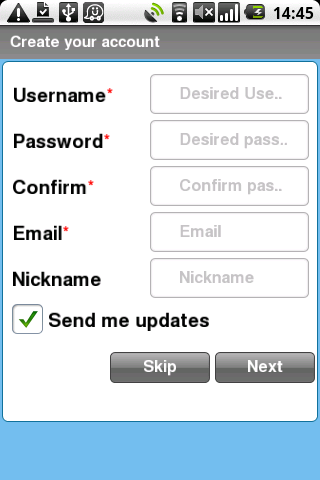
- You'll be asked to provide a username and password, an email address, and optionally to choose a waze nickname, which is used to identify you on the map and in reports you send, should you choose to be identified.
- Select the username you'd like. The username is case dependent so Jenny is not the same as jenny.
- After you have proceeded to fill in all the form, waze will display the filled-in form (your password will be displayed as five stars no matter how long it actually is).
- If the information is the way you want it, select Create in order to create your account. If not, select the line you want to change.
- You'll be asked to provide a username and password, an email address, and optionally to choose a waze nickname, which is used to identify you on the map and in reports you send, should you choose to be identified.
- 3.9.1.2 Tap Next to confirm and to enter as a registered user or Skip if you don't want to register at this moment.
- Note that if you select “skip”, a temporary account will be created for you If you skip the registration.
- You will not be able to access waze's web site and points you get during driving will not be saved!
- 3.9.1.2 Tap Next to confirm and to enter as a registered user or Skip if you don't want to register at this moment.
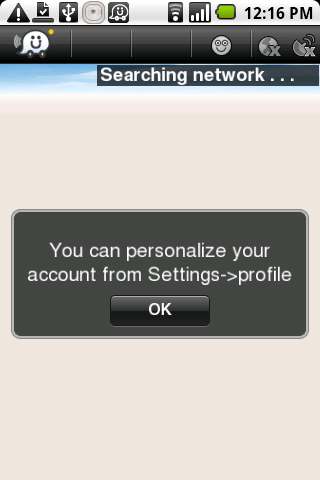
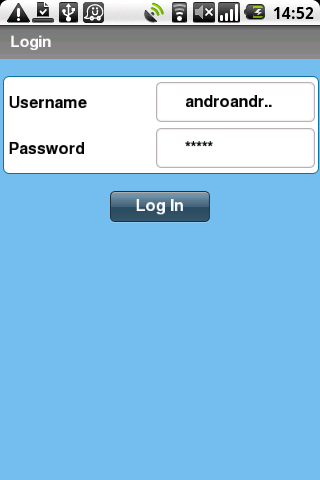
- 3.9.2 If you already have waze account, tap Get Started
- 3.9.2.1 Enter your Username and Password and tap Log in.
- 3.9.2 If you already have waze account, tap Get Started
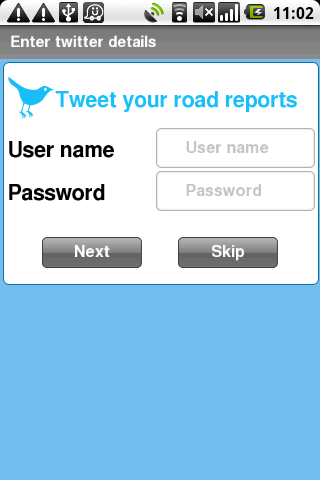
- 3.9.3 You can also enter your twitter account details. Your routes and / or road reports will be tweeted automatically from your account according to your settings. (Add internal wiki link to the Settings -> Profile -> Twitter).
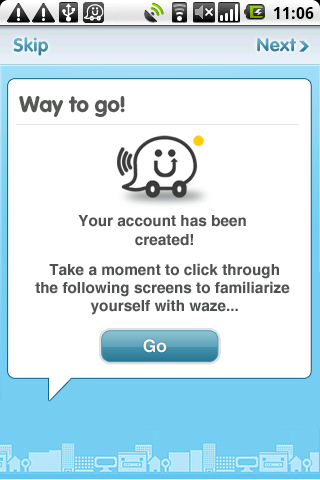
- 3.10 Way to go! Congratulation you have a new WAZE account.
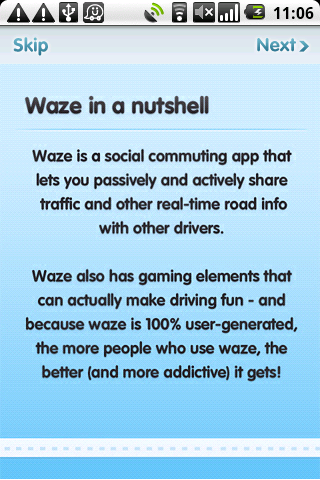
- 3.11 Read or skip the information about waze:
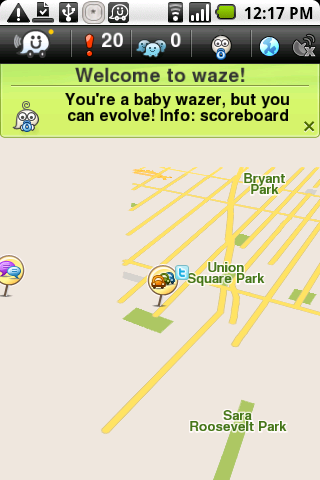
- 3.12 Welcome to waze's main screen:
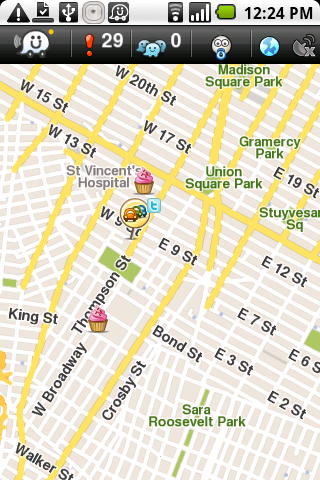
- 3.13 2D (2D and 3D should appear in the settings part)
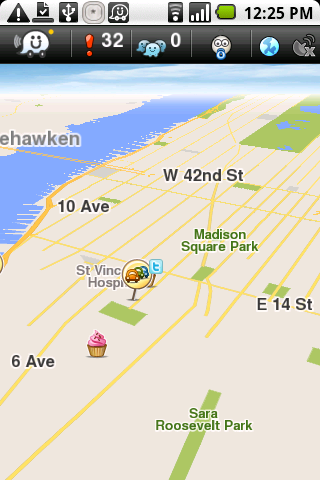
- 3.14 3D- Depth dimension will be added to the map in this mode.
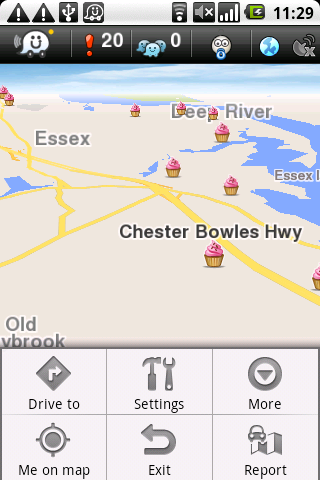
Menus
Iphone
First Time in Waze?
The first time that you run the software, it show up the following screens and messages:
Select Server
If your I-Phone and Waze do not recognize your current location, Waze will ask you to select your sever.
- USA & Canada.
- Israel.
- International (rest of the world).
After choose your specific server, the follow screen will show up in your I-phone:
In here, you need to choose your preferred language.
- After choosing your preferred language the following screen will show up. Here you will find the “Waze’s Using Terms”.
Login
After accepting the using terms, it will show up the following screen:
In this screen, you need to choose to Sign up or to Sign in
Sign Up
By clicking the ![]() button will bring up the profile menu:
button will bring up the profile menu:
In this screen, you need to fill all the fields to complete your profile. However if you do not want subscribe in that moment, then you only need to press the skip button and you will receive a temporal user name.
NOTE I: If you choose to skip this step and use a temporal user name, you will not able to use the any of functions inside the our web page and all your points and score it will not be accumulate in your account.
NOTE II: The “send me updates” box indicates the option to get or not to get update and news mails in your personal mailbox. After pressing the skip button, the following screen will show up:
In here, you have another time an option to create a user name or continue working with a temporal user name.
Next screen is:
Ping\Chit Chat
Just after you finish to subscribe to twitter, you will see the next screen:
here, you can agree or not agree to be pinged by other wazers.
The next screen will be:
In here, you can decide if you want to connect to Facebook or not. If you press the connect button, he will take you to the login to facebook manu:
The next screen that will show up, it is the following one:
This screen inform you, that you had finish to create your Waze account, so only press GO and start enjoying Waze.
Main Screen
After running the application, you will see following screen:
The top of the screen
In the top of the main screen will appear six different icons:
GPS Reception icons:
| connected | |
| Partial connected | |
| No GPS reception. |
Internet connection:
| Connected to Waze | |
| Not connected to Waze |
Mood icon
| Here you can decide in which mood do you want to appear in Waze. |
Groups icon
| Here you can see all the groups that you are following. |
Events
| Here you can see all the events that have been reported by your groups, that have been reported on your route or that have been reported near to you. |
Turn off icon
| In here, you can turn off the application. |
The bottom of the screen
In the bottom of the screen you will fin four different buttons:
Inside the first one  you will find the next expandable menu:
The center of the screen
In the center of the screen you will see the map. The map can be show in two different modes:
| 3D mode | 2D mode |
|---|---|

|

|


