(Created page with "==Creating a roundabout from an intersection== Often times, when streets become more congested, planners will install a traffic circle, or roundabout, to get traffic to flow m...") |
(first edited version) |
||
| Line 1: | Line 1: | ||
==Creating a roundabout from an intersection== | d==Creating a roundabout from an intersection== | ||
Often times, when streets become more congested, planners will install a traffic circle, or roundabout, to get traffic to flow more freely. This section shows you the steps to get from an existing intersection to a new roundabout. | Often times, when streets become more congested, planners will install a traffic circle, or roundabout, to get traffic to flow more freely. This section shows you the steps to get from an existing intersection to a new roundabout. | ||
The situation starts out like this, where the roads are no longer aligned with the new plan, and now there is a roundabout which we need to get created in Waze: | The situation starts out like this, where the roads are no longer aligned with the new plan, and now there is a roundabout which we need to get created in Waze: | ||
[[File: | [[File:Rndabtstart.png]] | ||
This situation is fairly simple because all the segments are connected together already. | This situation is fairly simple because all the segments are connected together already. | ||
The first thing to do is move the junction to the center of the roundabout. This is as simple as it sounds: click and drag the junction to where it should be. | |||
{{Clear}} | {{Clear}} | ||
[[File: | [[File:Movecenterrndabt.gif]] | ||
{{Clear}} | {{Clear}} | ||
{{Clear}} | {{Clear}} | ||
Once the junction is in the correct place go ahead and save the work. | |||
Revision as of 06:25, 3 December 2015
d==Creating a roundabout from an intersection== Often times, when streets become more congested, planners will install a traffic circle, or roundabout, to get traffic to flow more freely. This section shows you the steps to get from an existing intersection to a new roundabout.
The situation starts out like this, where the roads are no longer aligned with the new plan, and now there is a roundabout which we need to get created in Waze:
This situation is fairly simple because all the segments are connected together already.
The first thing to do is move the junction to the center of the roundabout. This is as simple as it sounds: click and drag the junction to where it should be.
Once the junction is in the correct place go ahead and save the work.

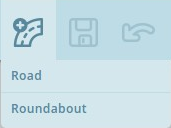
Hover the cursor over the road with plus sign icon the right side of the toolbar and click Roundabout. You can also use the keyboard shortcut which is the letter o, selected because the shape of the letter is round, like a roundabout.

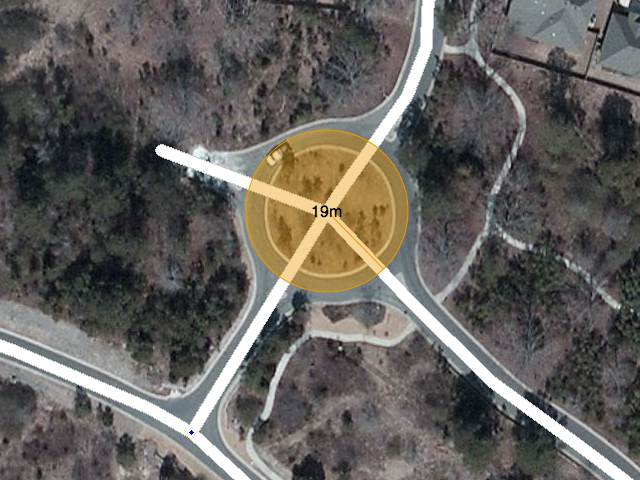
Move the cursor to the center of the actual roundabout. The cursor will be a crosshair + to indicate it is in roundabout creation mode. Click once at the center and then move the mouse any direction towards the perimeter of the roundabout. An orangish circle will grow and shrink as you move the mouse, and the numbers in the center of the circle display the diameter the roundabout will be.

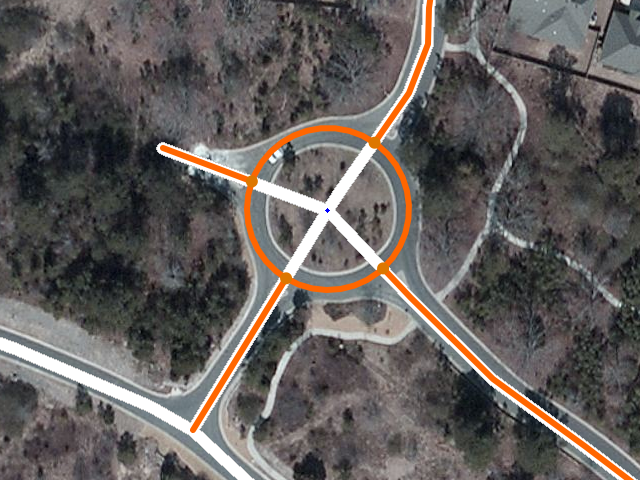
Click once when you are satisfied with the size and shape of the roundabout. What happens now is that the map editor creates new 1-way segments in between each road segment the circumference of the roundabout comes into contact with. Each of those segments is cut off and connected to the roundabout with allowed turns already set. All of these segments are shown in orange because they are not saved yet.
WARNING: Any segments completely within the roundabout area WILL BE DELETED.

Just as with drawing new roads, the segments of the roundabout which were created in the last step must be confirmed in order for them to appear on the map in the Waze app. That is, each segment needs the country, state (where applicable), and city. Please see the Updating details to confirm the road section for details on this process. In Waze, we do NOT name roundabout segments. These segments remain unnamed using the "No Name" checkbox for street name to enable proper routing. If the roundabout is a named circle on local signs, then add a Place area type set as a Junction / Interchange filling the center area or covering the roundabout as appropriate using the name that appears on the local signs.
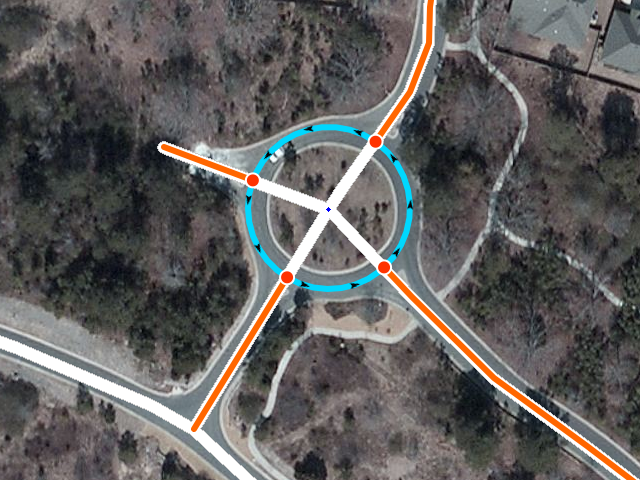
When the process is complete and the Save button has been clicked on one last time, this is how the new roundabout looks:
For further reference, please watch this video on roundabout creation.
Oval and very large shapes
If an oval or elliptical roundabout is required, hold down the Shift key. At this time only oval roundabouts along the North/South or East/West axis can be created. If an alternate shape or axis is desired, create a circular roundabout that is close to the correct shape and adjust the geometry nodes manually.
Note that roundabouts cannot be created over a maximum of Roundabouts/Maximum in diameter because of the danger of erasing all roads in the center could accidentally wipe out an entire city of roads. If a larger diameter is required, use the same steps described above to alter the shape by adjusting the nodes as required.


